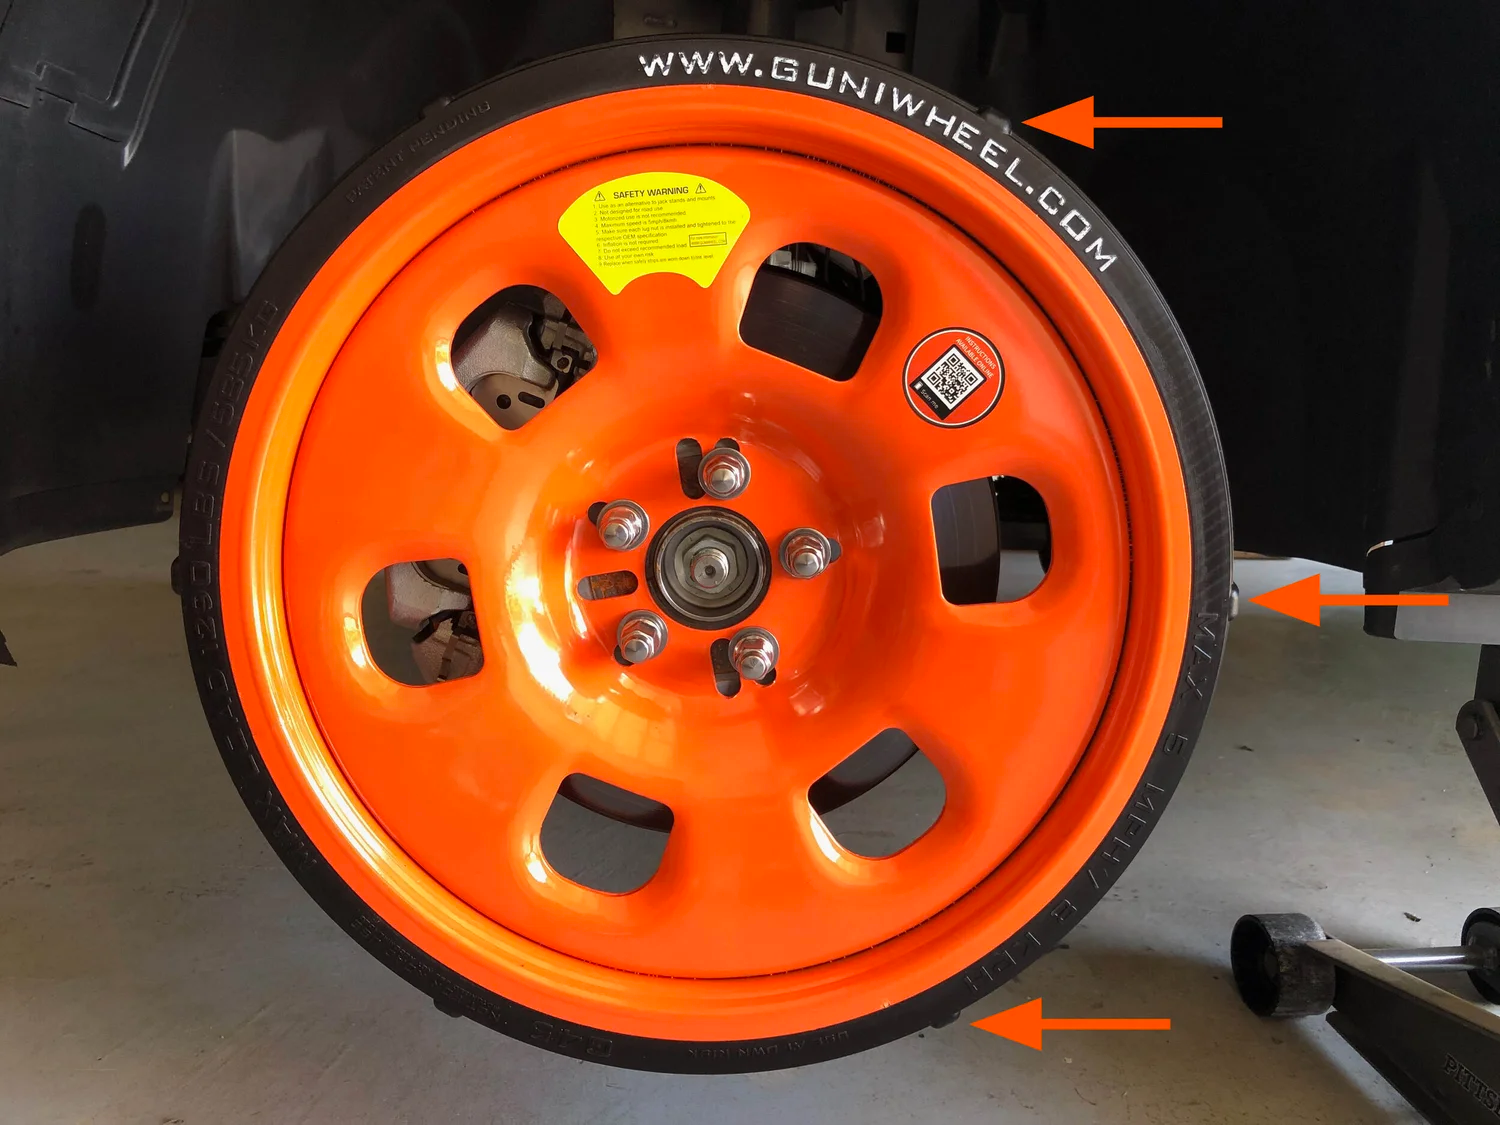
SIMPLE, SAFE & FAST GUNIWHEEL™ INSTALLATION
Guniwheel™ provides a safe alternative to jack stands and other mounting methods that keep vehicles immobile. It is engineered to support secure mounting and controlled movement during repairs or workshop operations.
Guniwheel™ is not a spare tire and not designed for road driving. It is only intended for low-speed movement within workshops or parking areas, with a maximum speed limit of 5 mph / 8 km/h.
Before installation, always check that the hub or rotor is properly attached and free from damage. Guniwheel™ 45 and 55 models are fully patented, protected under U.S. Patent #D874387.
INSTALL GUNIWHEEL™ IN 5 SIMPLE STEPS
Guniwheel™ is designed for quick, safe, and hassle-free installation. Follow these five simple steps to ensure your temporary wheel mounts correctly and performs exactly within recommended or safe workshop conditions.
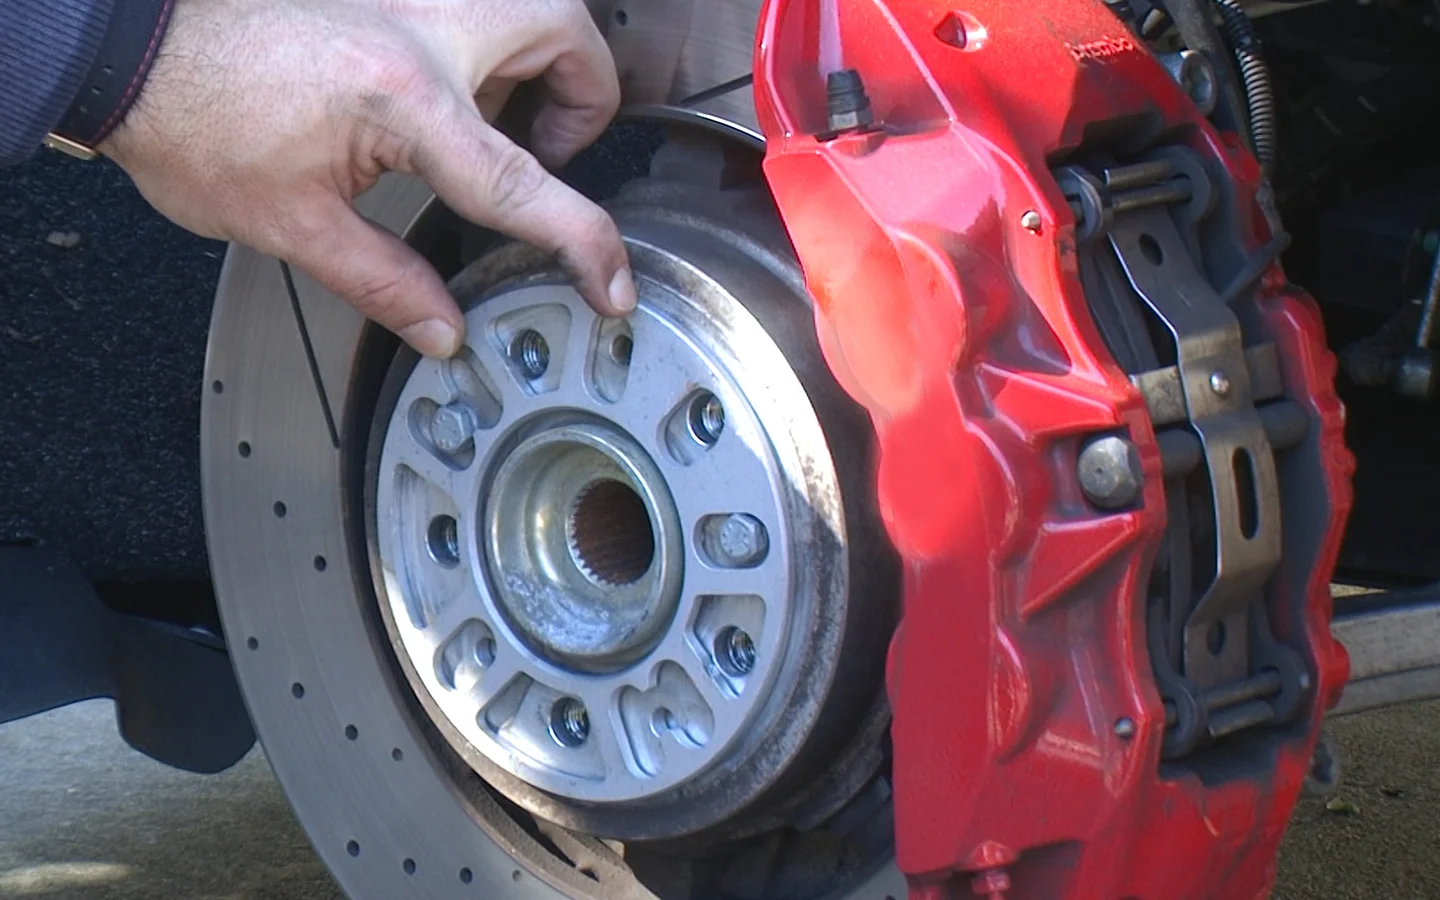
STEP 1: INSTALL SPACER IF NEEDED
Before installing the Guniwheel™, it's important to confirm that your vehicle's brake calipers have enough clearance to add washers. Some vehicles with recessed or low-profile calipers may require a spacer for proper fitment.
Avoid using hub-large or cone-seat-style adapters, use flat Guniwheel™ lug of the adapter to ensure the mounting surface for maximum stability.
The Guniwheel™ is designed solely for caliper clearance and should not be used as a spacer for hubs or lug nuts.
If your vehicle does not have recessed calipers, you can skip this step and move directly to the next part of the installation.
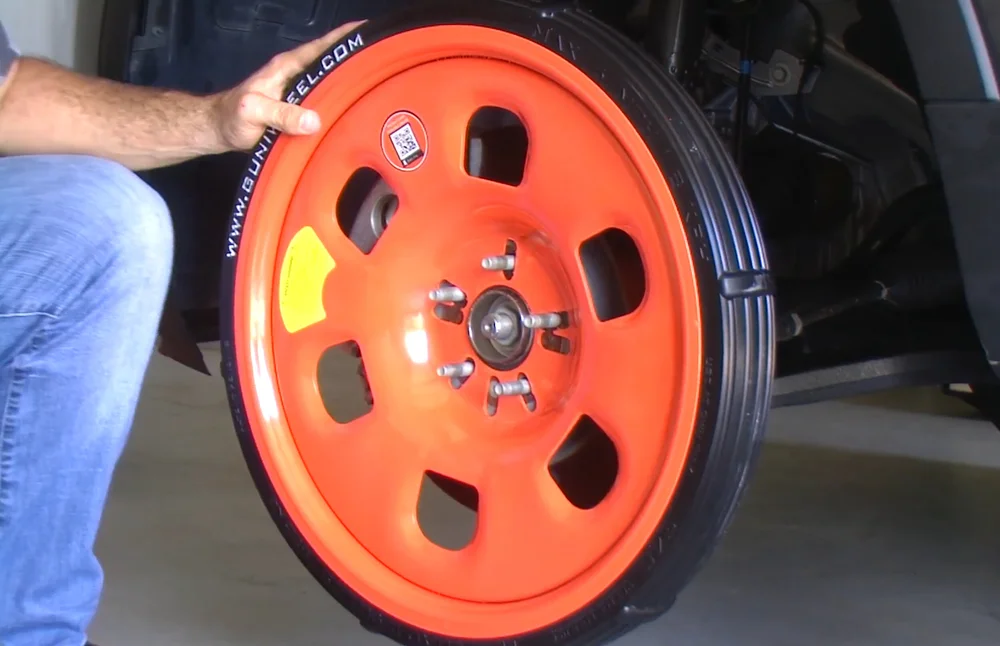
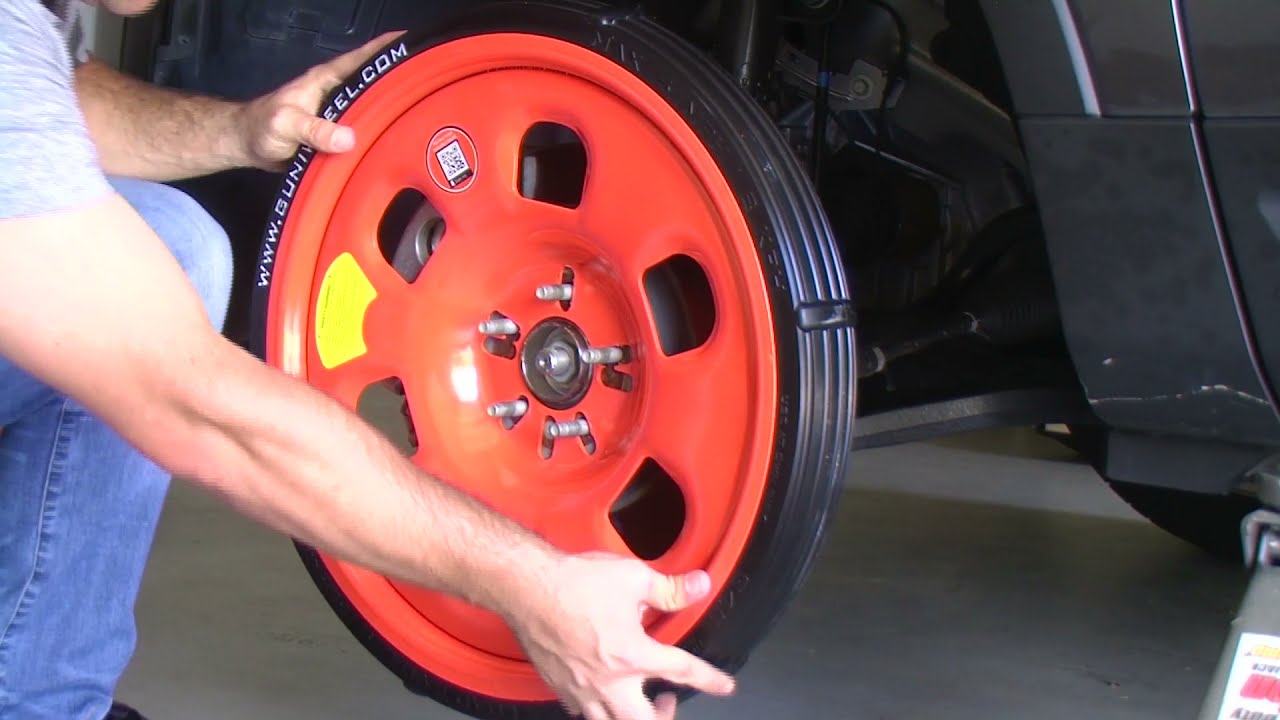
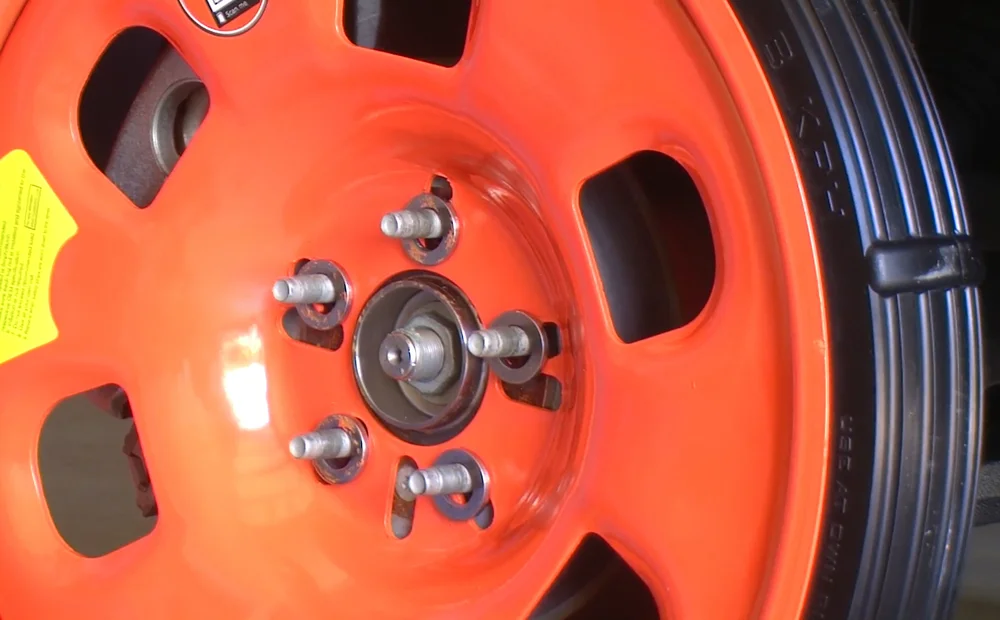
STEP 2: ALIGN THE GUNIWHEEL™
Once the brake and or body has met this is to properly align the Guniwheel™ with your vehicle's hub. Ensure the mounting surface is aligned correctly to prevent misalignment or stress on wheel hardware and tire or lug nuts.
Use the Guniwheel™ to slide vehicle's lug pattern for accurate alignment and mounting.
Ensure the Guniwheel™ is flat and it has with the hub Guniwheel™. Do a single lug finger fit and tighten with a lugger (initial torque).
Position the Guniwheel™ completely flush against the hub/rotor to ensure proper seating.
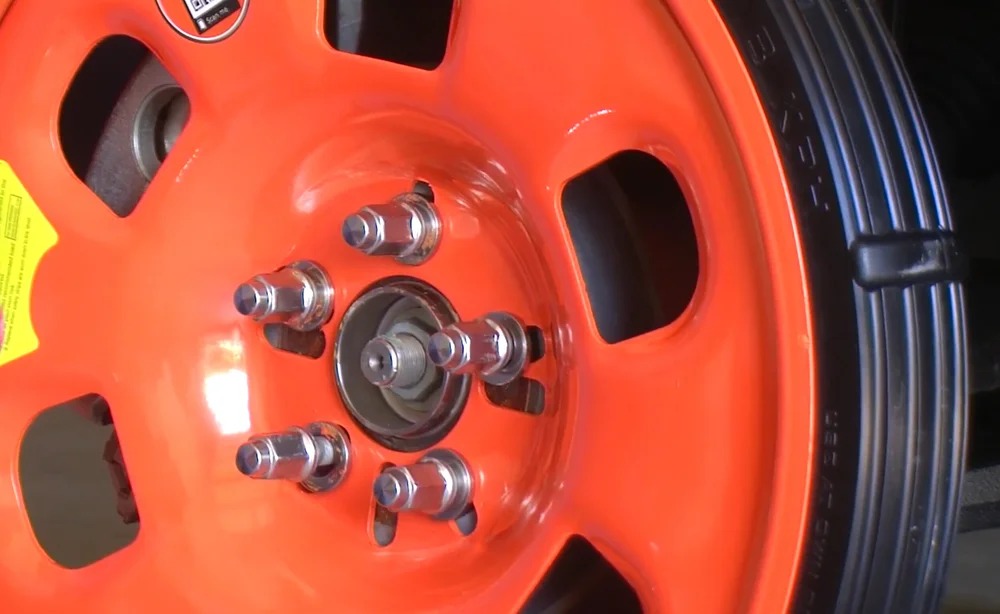
STEP 3: USE GUNIWASHERS FOR PROTECTION
Guniwashers provide an extra layer of protection and help distribute load evenly across the Guniwheel™. They provide the clearance and protection needed for safe, long-lasting use.
We recommend using at GPTS from Guniwashers will the lug nuts or lug bolts if used with a spacer.
Guniwashers prevent the metal lug nuts from the wheel face and secure the hub or caliper mounting, top screw or bolts.
If no lug washers (Guniwashers) from your local distributor or directly via our website.
STEP 4: SECURE THE GUNIWHEEL™ WITH PROPER BOLTS & NUTS
Ensure your Guniwheel™ is mounted safely by using the correct OEM or non-corrosive hardware that is well-suited to support the torque conditions and safe operating use.
Your OEM bolts and lug nuts are compatible with the powered Guniwheel™ mounting.
Correct bolt size: M14 × 22 mm × 5 mm or M14 × 22 mm × 1.25 mm.
Do not over-tighten. M14 upper nut bolt.
Stud Bolts and Guniwashers are available on Guni-tool.com.
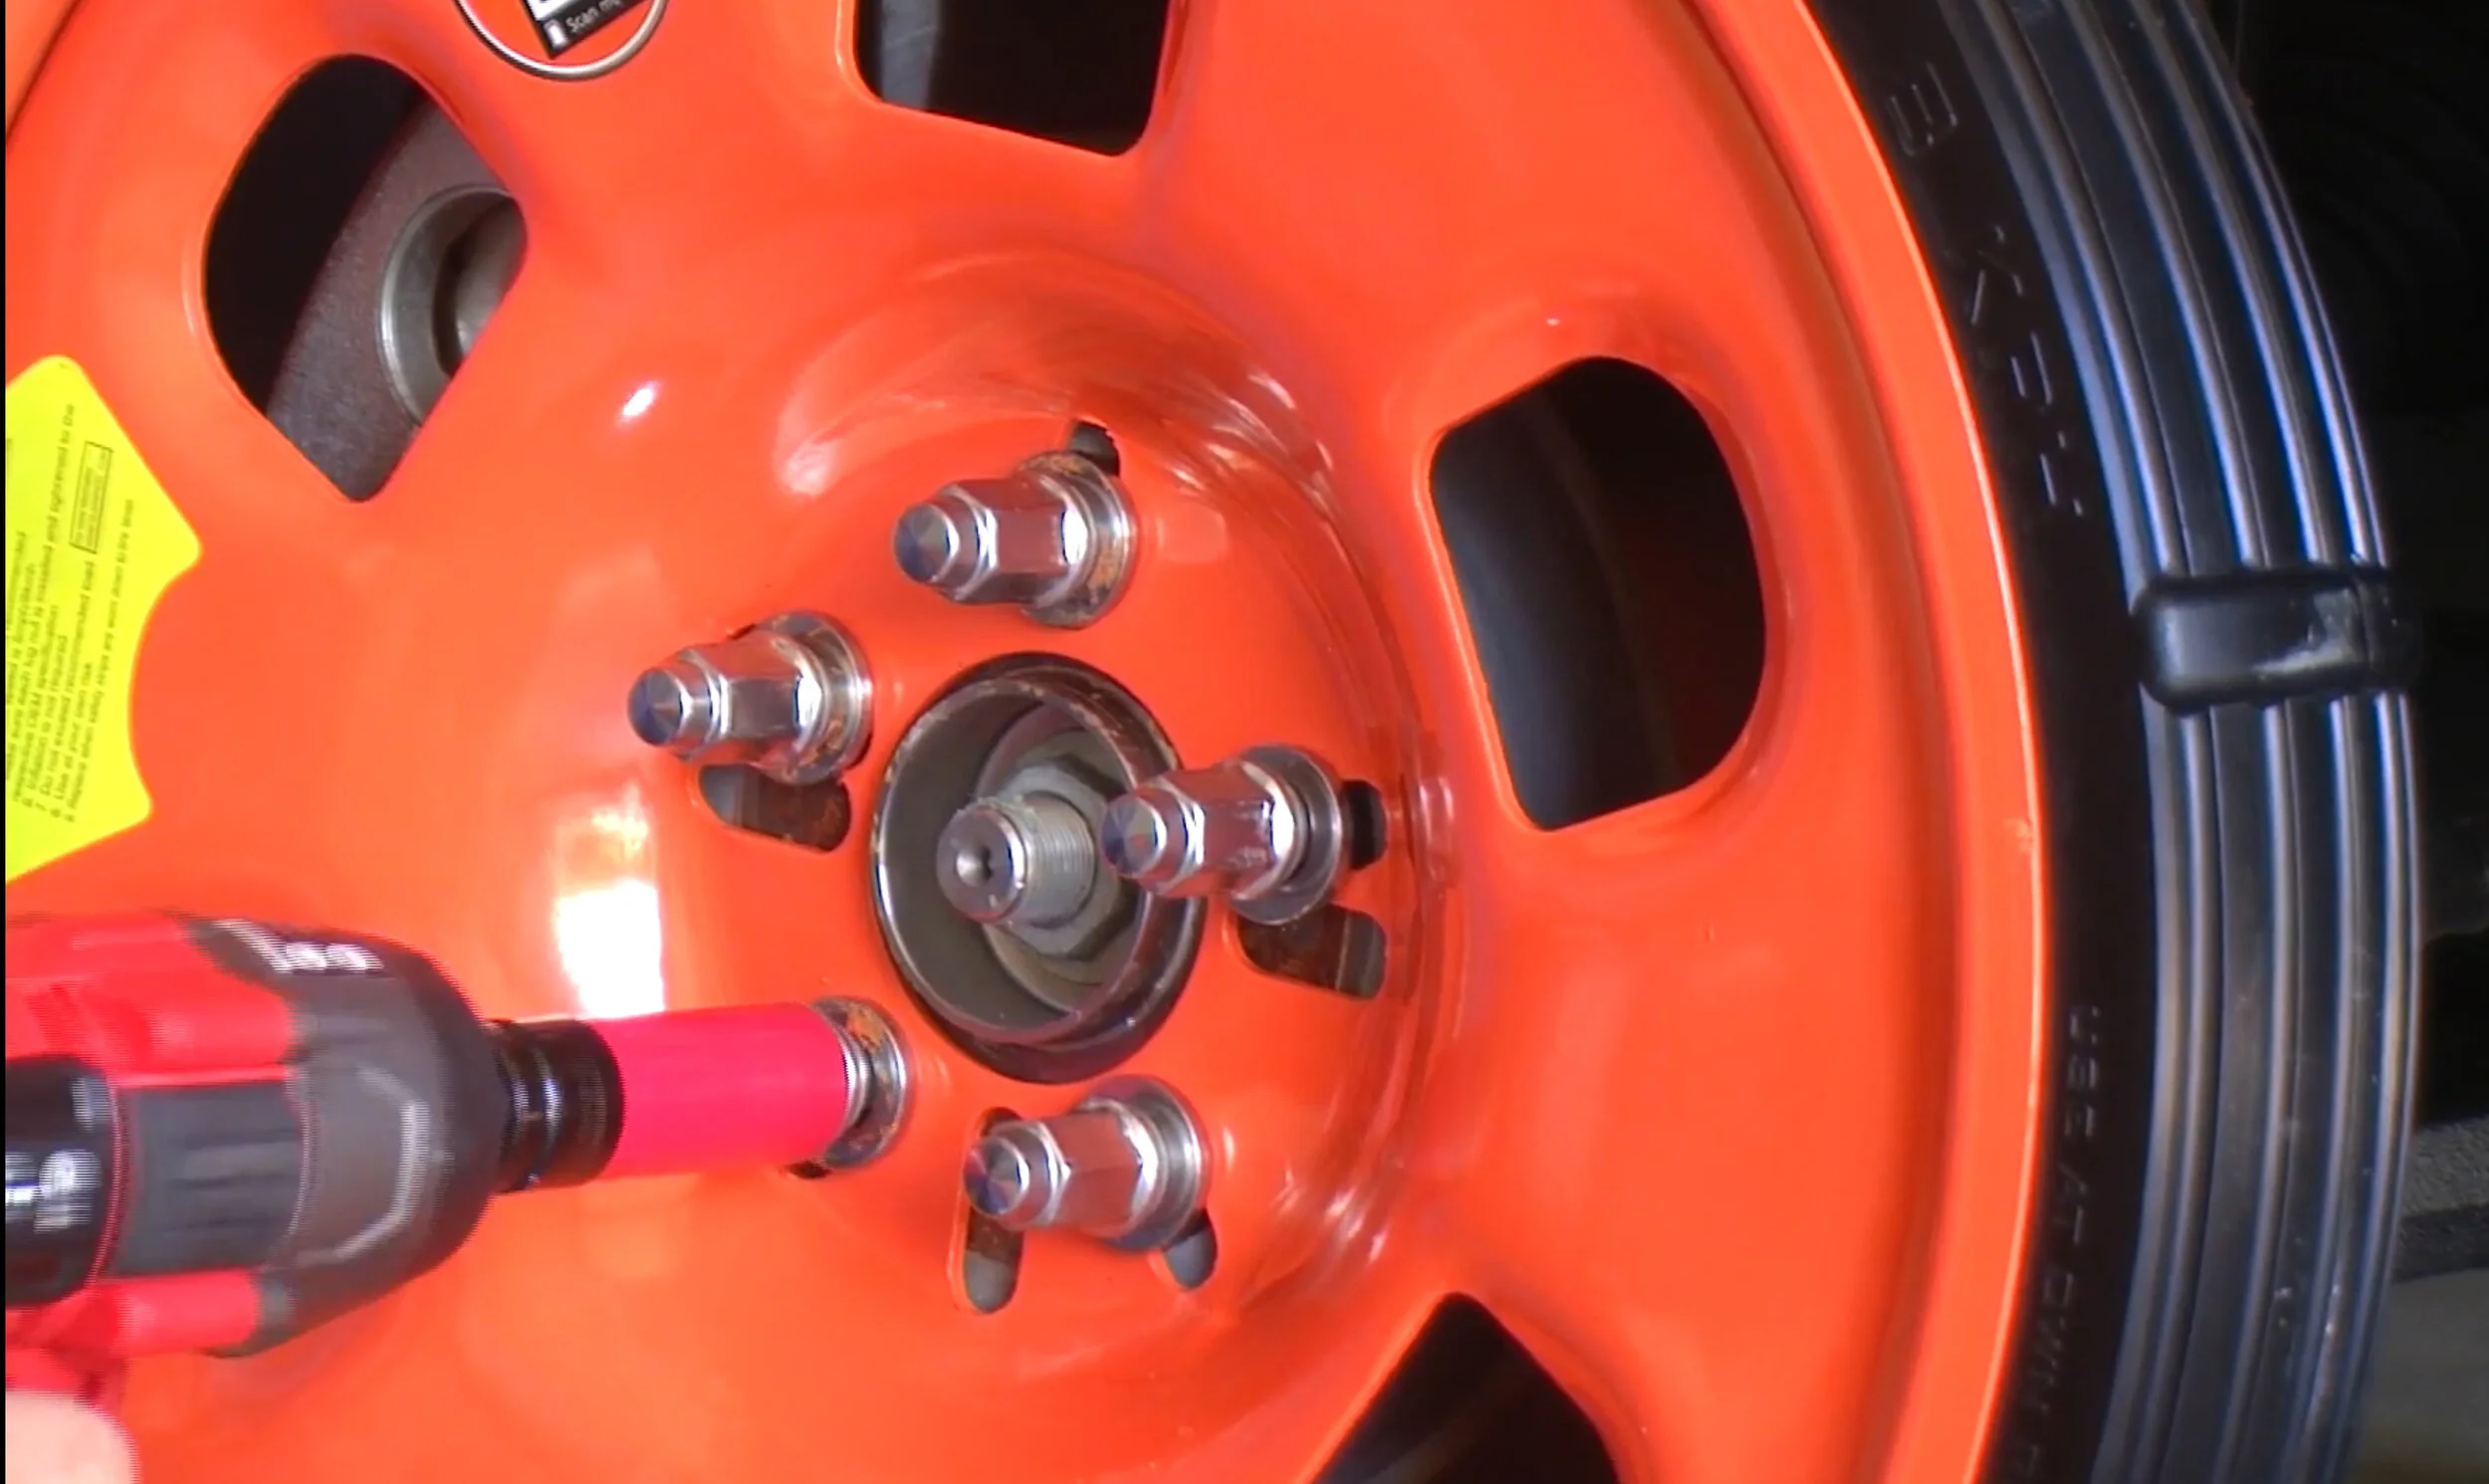
STEP 5: TIGHTEN AND SECURE YOUR GUNIWHEEL™ PROPERLY
With the Guniwheel™ correctly aligned, secure it using the appropriate torque or lug nuts. Proper tightening ensures maximum stability and prevents any loosening during use.
Install the correct bolts or nuts and tighten them evenly to a maximum of 50 lbs (follow the strength of the lug nuts).
If using uniform torque procedures slowly ensure the lug nuts tighten the Guniwheel™ evenly across the hub.
Recheck torque after movement after tightening to 2 kg torque. Use standard or re-torque, torque and manually check the Guniwheel™ for tightness by.
Never exceed 8 kg torque. We strongly strongly not damage the equipment.
IMPORTANT SAFETY & USAGE GUIDELINES
These essential guidelines ensure safe operation of the Guniwheel™ system. Review them carefully to prevent misuse, maintain workshop safety, and extend the life of your temporary wheel system.
LOW-SPEED OPERATION ONLY
Guniwheel™ must only be used at workshop speeds up to 8 km/h.
BUILT-IN SPEED HUMPS
Rubber tread humps may cause vibration above 8 km/h
REPLACE WHEN RUBBER WEARS DOWN
Replace the Guniwheel™ when its rubber humps wear down to tread level.
STRONG LOAD CAPACITY
Each Guniwheel™ can safely support up to 1134 kg in shop environments.
INSTALLATION MISUSE DISCLAIMER
Guniwheel™ is not liable for issues caused by incorrect or unsafe installation.